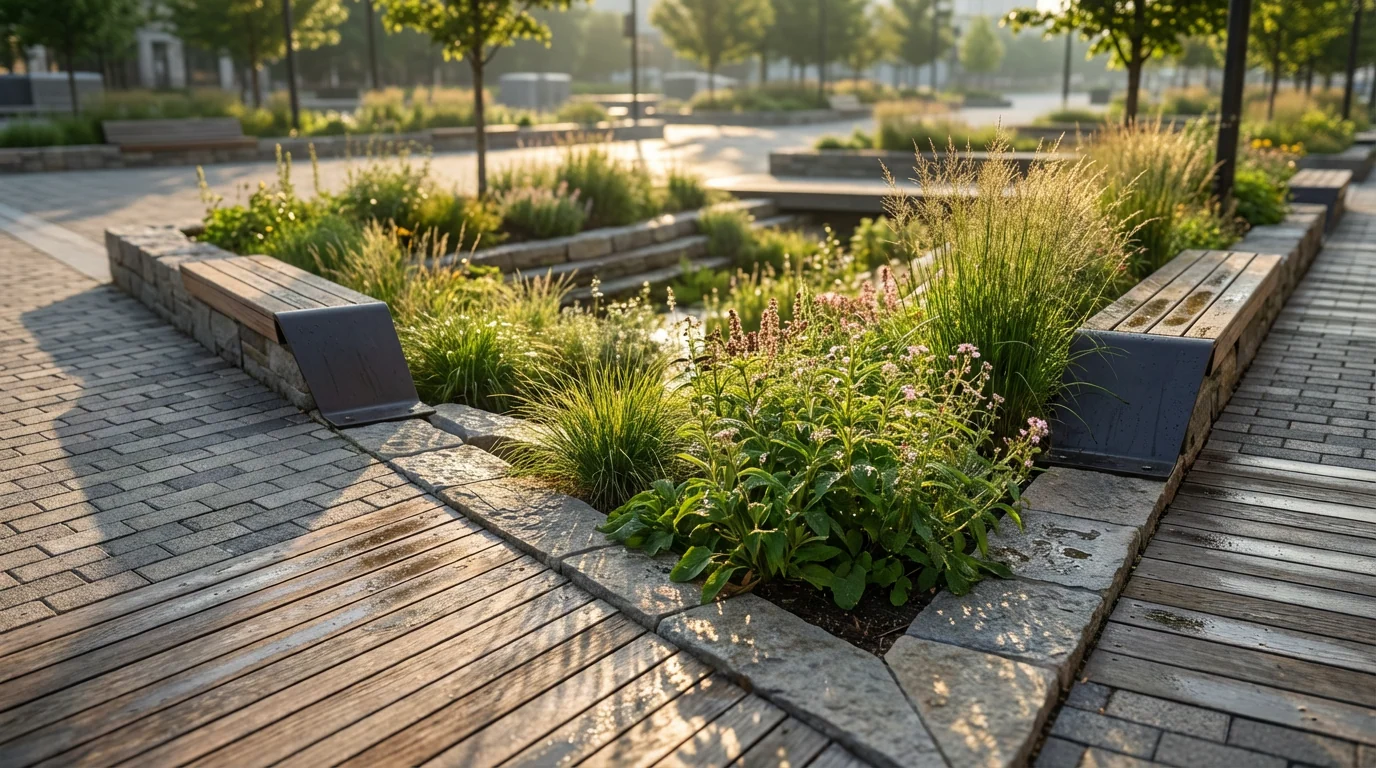
Transforming your backyard into a sustainable oasis can be both rewarding and environmentally beneficial. One effective way to manage stormwater runoff and enhance your landscape is by installing a bio-swale. This natural solution not only improves water quality but also adds visual appeal to your outdoor space.
Bio-swales are designed to capture rainwater, filter pollutants, and promote natural absorption into the ground. By following some simple DIY steps, you can create a bio-swale that blends seamlessly with your backyard environment.
Understanding Bio-Swales
A bio-swale is essentially a shallow, vegetated channel designed to manage water runoff. It slows down the flow of water, allowing it to percolate through the soil and vegetation, which filters out contaminants. This process significantly reduces the amount of pollutants reaching water bodies and helps prevent erosion.
Before you start, it's important to assess your yard's topography and water flow patterns. Identifying the best location for your bio-swale is crucial to its effectiveness.
Choosing the Right Location
Begin by observing your yard during a rainstorm to see where water naturally collects. Your bio-swale should be positioned along this path to maximize its efficiency. Avoid areas with steep slopes or existing drainage issues, as these could complicate the installation process.
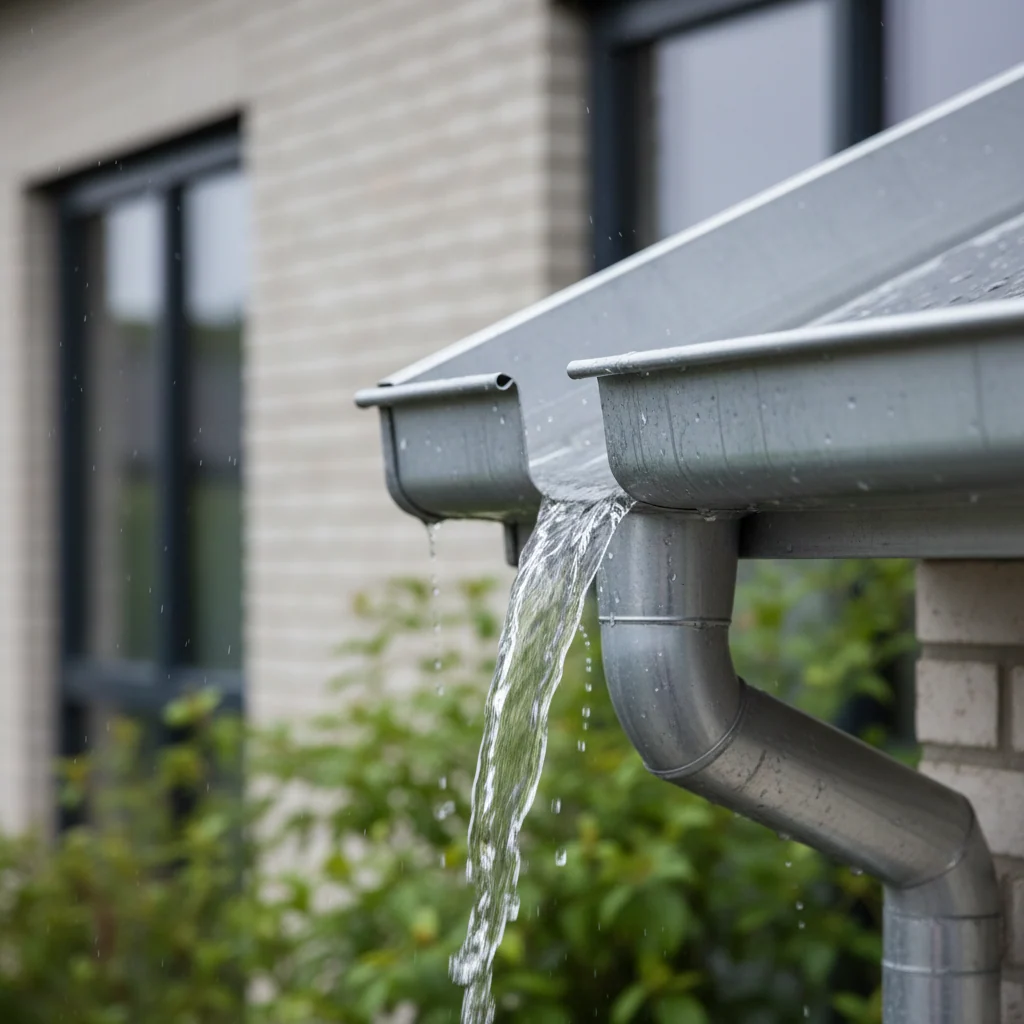
Consider proximity to structures and property lines, ensuring that the bio-swale will not cause water damage to your home or neighboring properties. Consulting with a local expert or a landscape architect can provide additional insights.
Materials and Tools Needed
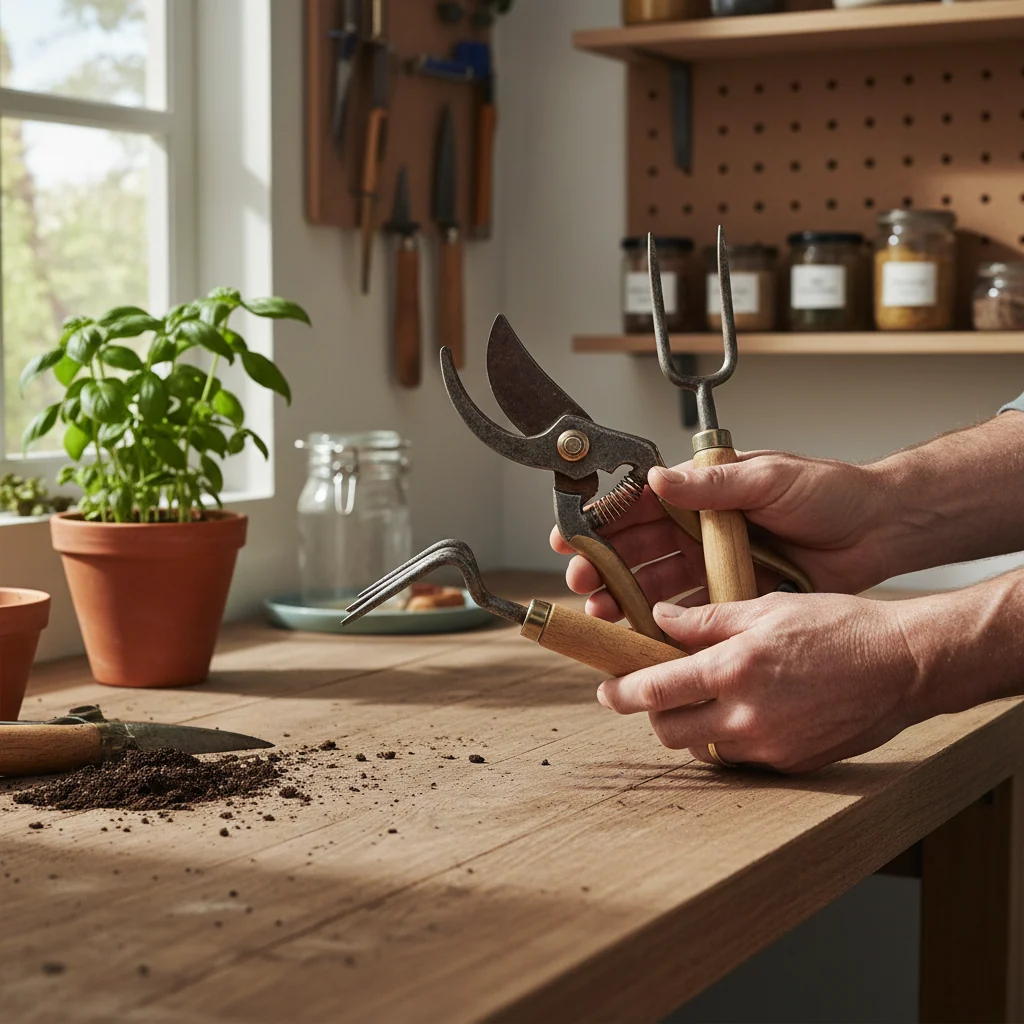
Gathering the right materials and tools is vital for a successful installation. Here's what you'll need:
- Shovel and spade
- Rake
- Compost or topsoil
- Gravel or river rocks
- Native plants and grasses
- Landscape fabric (optional)
Choosing native plants is essential, as they are adapted to your local climate and soil conditions, requiring less maintenance and water.
Installation Steps
Once you've chosen the location and gathered your materials, it's time to start digging. Follow these steps for a successful installation:
- Outline the shape of your bio-swale with stakes and string.
- Excavate the area to the desired depth, creating a gentle slope.
- Layer gravel or rocks at the bottom to aid in drainage.
- Add a layer of compost or topsoil on top of the gravel.
- Plant native vegetation along the sides and base of the bio-swale.
Water the plants thoroughly and apply mulch to retain moisture and suppress weeds.
Maintenance Tips
Regular maintenance will ensure your bio-swale continues to function efficiently. Keep an eye out for debris buildup and remove any blockages that could impede water flow. Prune plants as needed and replace any that have not thrived.
Inspect the bio-swale after heavy rains to check for erosion or pooling water. Adjust the landscaping as necessary to maintain proper drainage and water absorption.
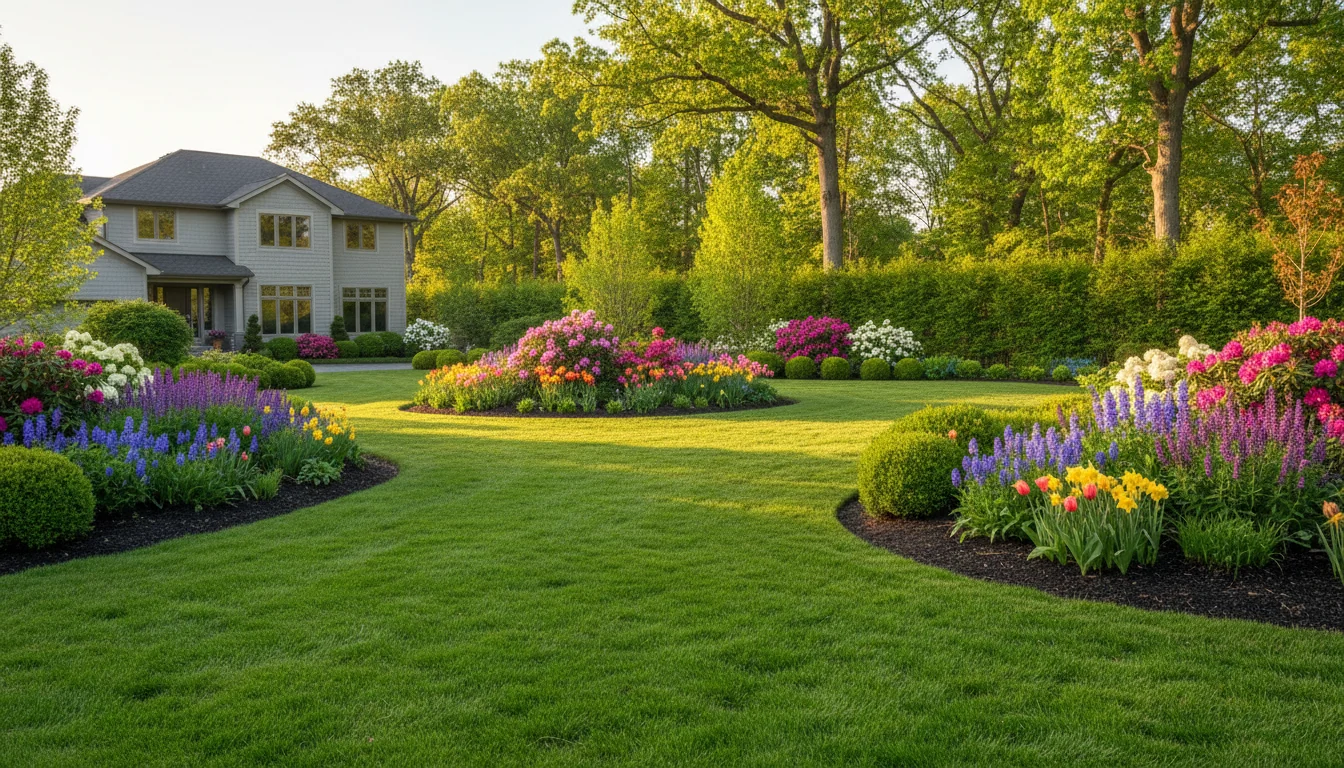
By following these DIY tips, you can transform your backyard into a functional and beautiful landscape feature that supports environmental health. Not only will you be contributing to water conservation, but you'll also enjoy a unique and attractive addition to your outdoor space.
Part of the EcoGuardian journal. This article retains its original publication context; references to grants, regulations, research, and services may have changed since publication.