DIY Bio-Swale Installation: A Step-by-Step Guide for Homeowners


Understanding Bio-Swales
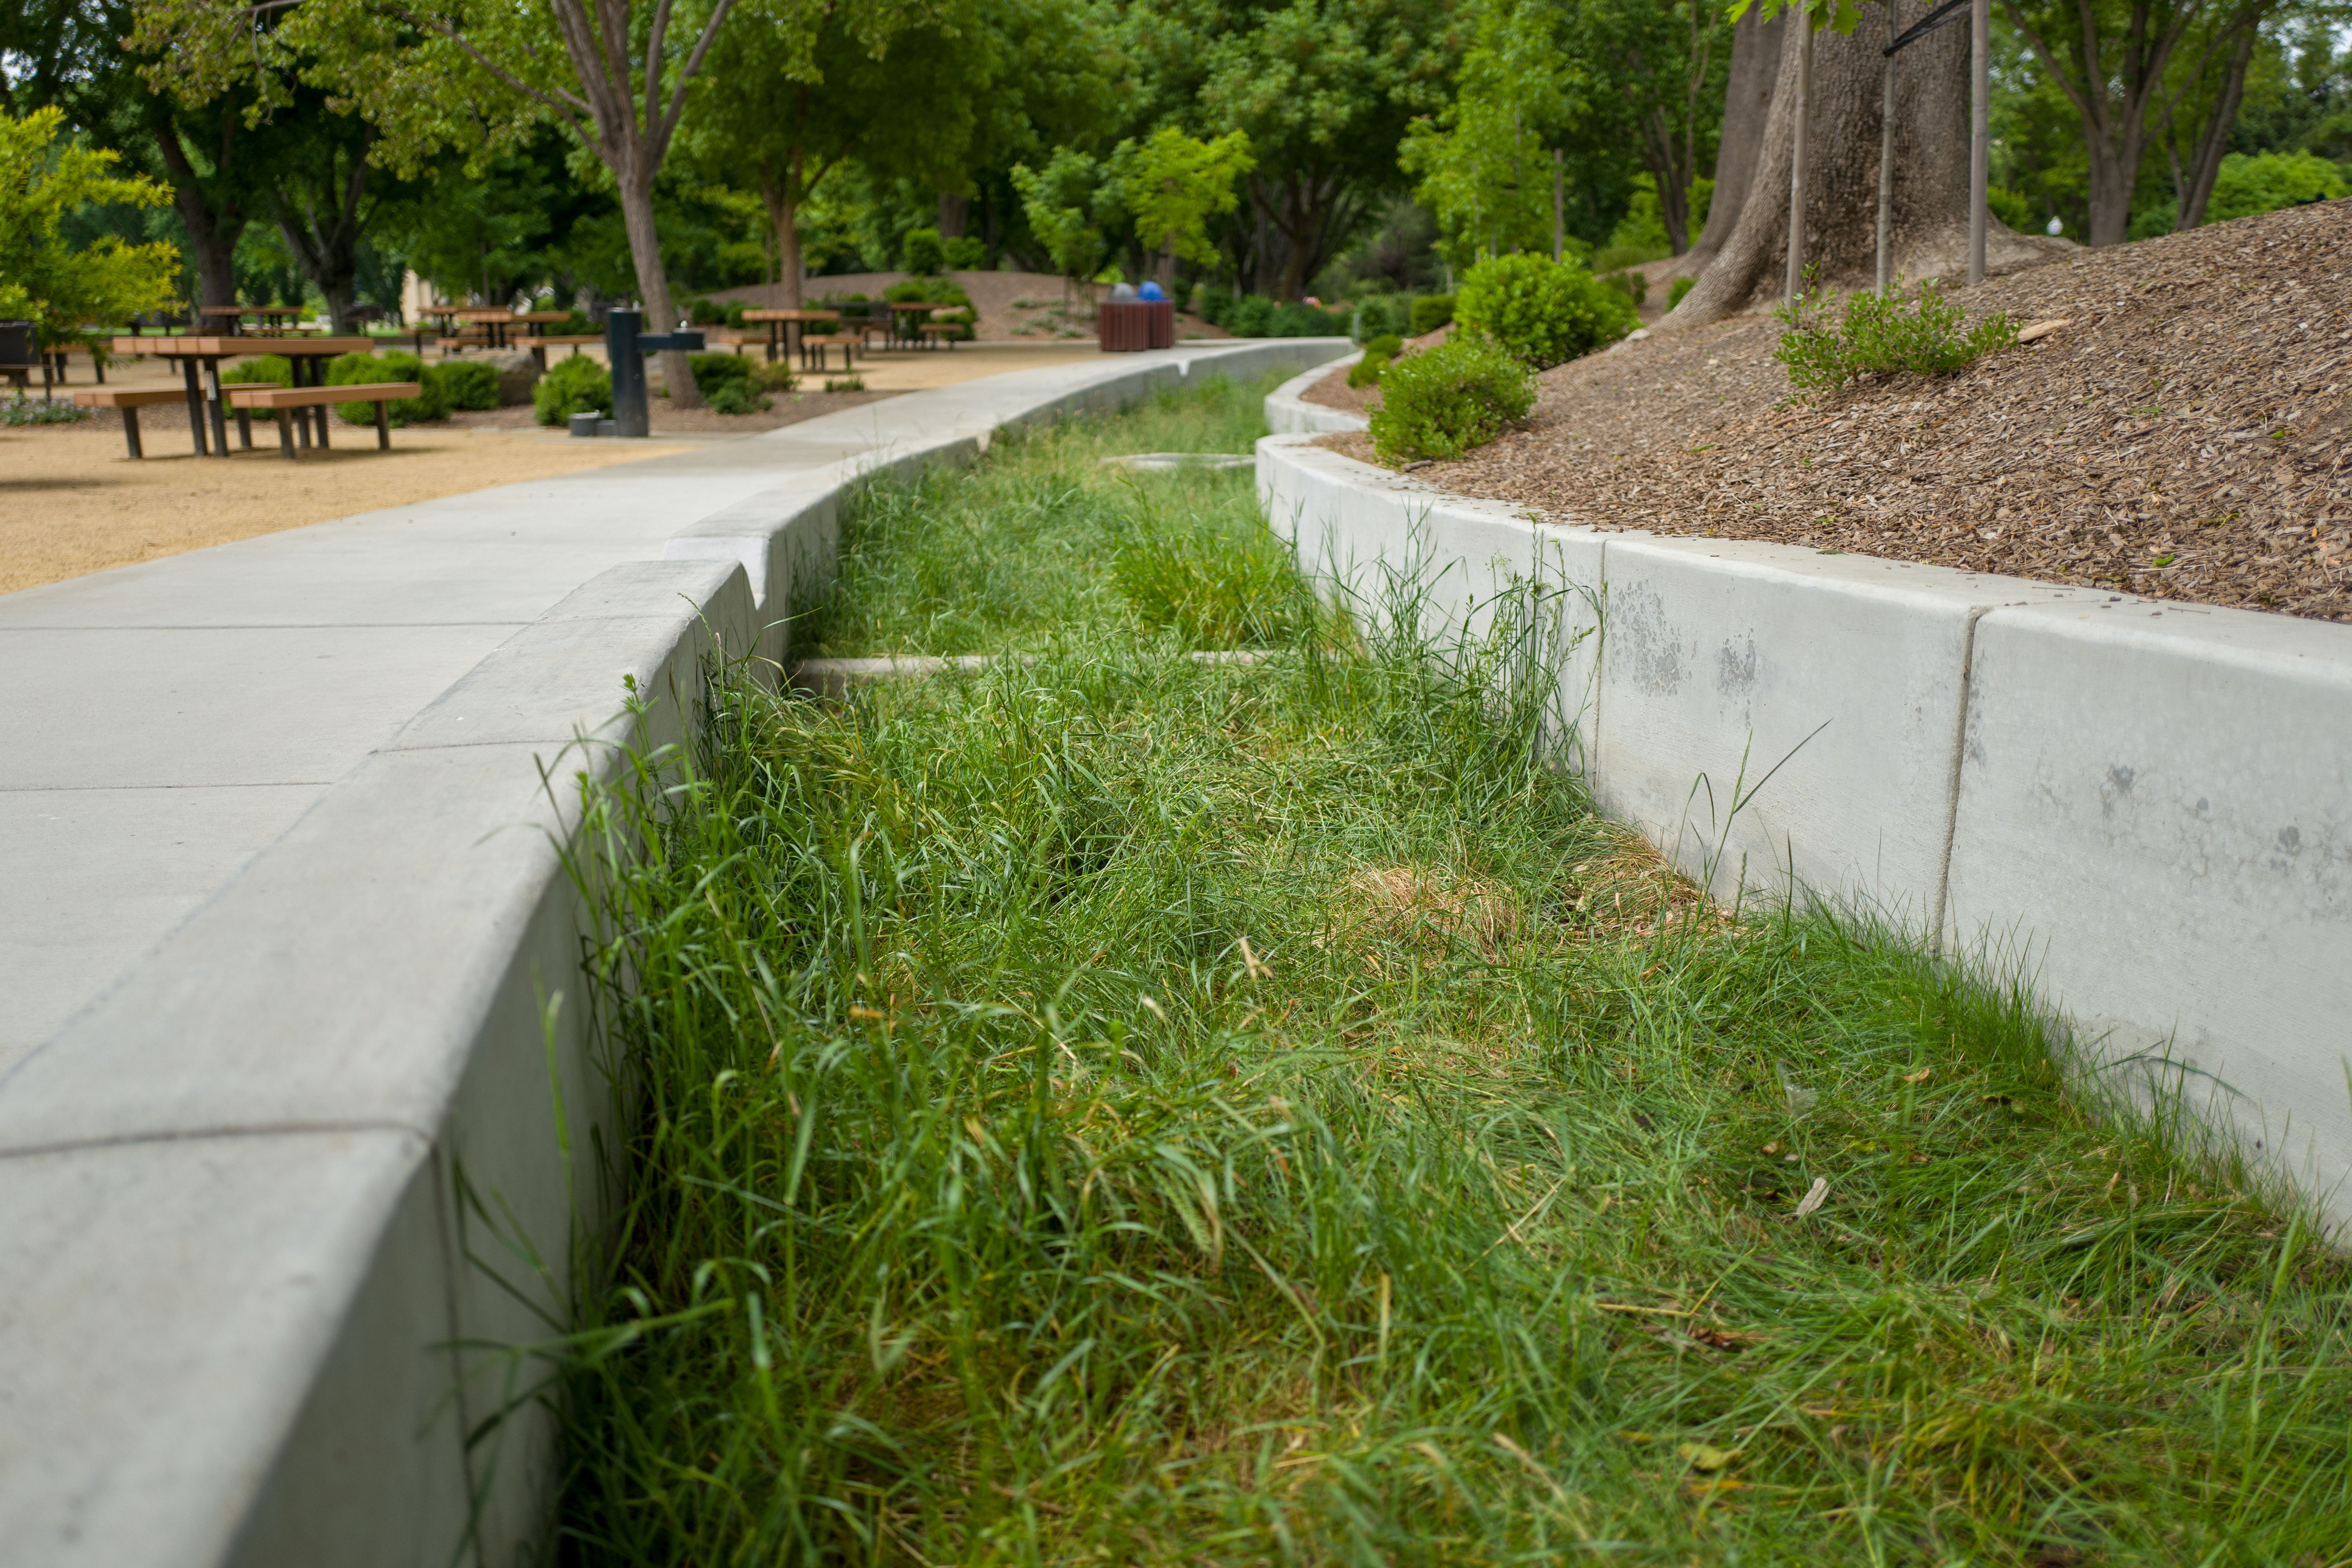
Bio-swales are an eco-friendly landscaping feature designed to manage water runoff, filter pollutants, and enhance natural beauty in residential areas. They are essentially shallow, vegetated ditches that slow down water flow, allowing it to seep into the ground. This not only helps in managing stormwater but also supports local ecosystems by filtering pollutants.
Benefits of Installing a Bio-Swale
Installing a bio-swale in your yard comes with multiple benefits. It reduces the risk of flooding by diverting excess rainwater away from your home, helps recharge groundwater supplies, and improves water quality by filtering out contaminants. Additionally, bio-swales can enhance the aesthetic appeal of your landscape, potentially increasing property value.
Planning Your Bio-Swale
Before you start digging, it's crucial to plan your bio-swale effectively. Consider the following steps:
- Assess Your Yard: Identify the areas where water tends to accumulate or where you notice significant runoff.
- Check Local Regulations: Some areas may have specific guidelines for bio-swale installation. Ensure you're in compliance before proceeding.
- Design Your Bio-Swale: Determine the size and shape based on the volume of water you need to manage. A general rule of thumb is to make it at least three feet wide and one to two feet deep.

Gathering Materials and Tools
Once you have a plan in place, gather the necessary materials and tools. You will need:
- Shovels and rakes
- Compost and mulch
- A mix of native plants and grasses
- Gravel or stones for filtration
- Landscape fabric
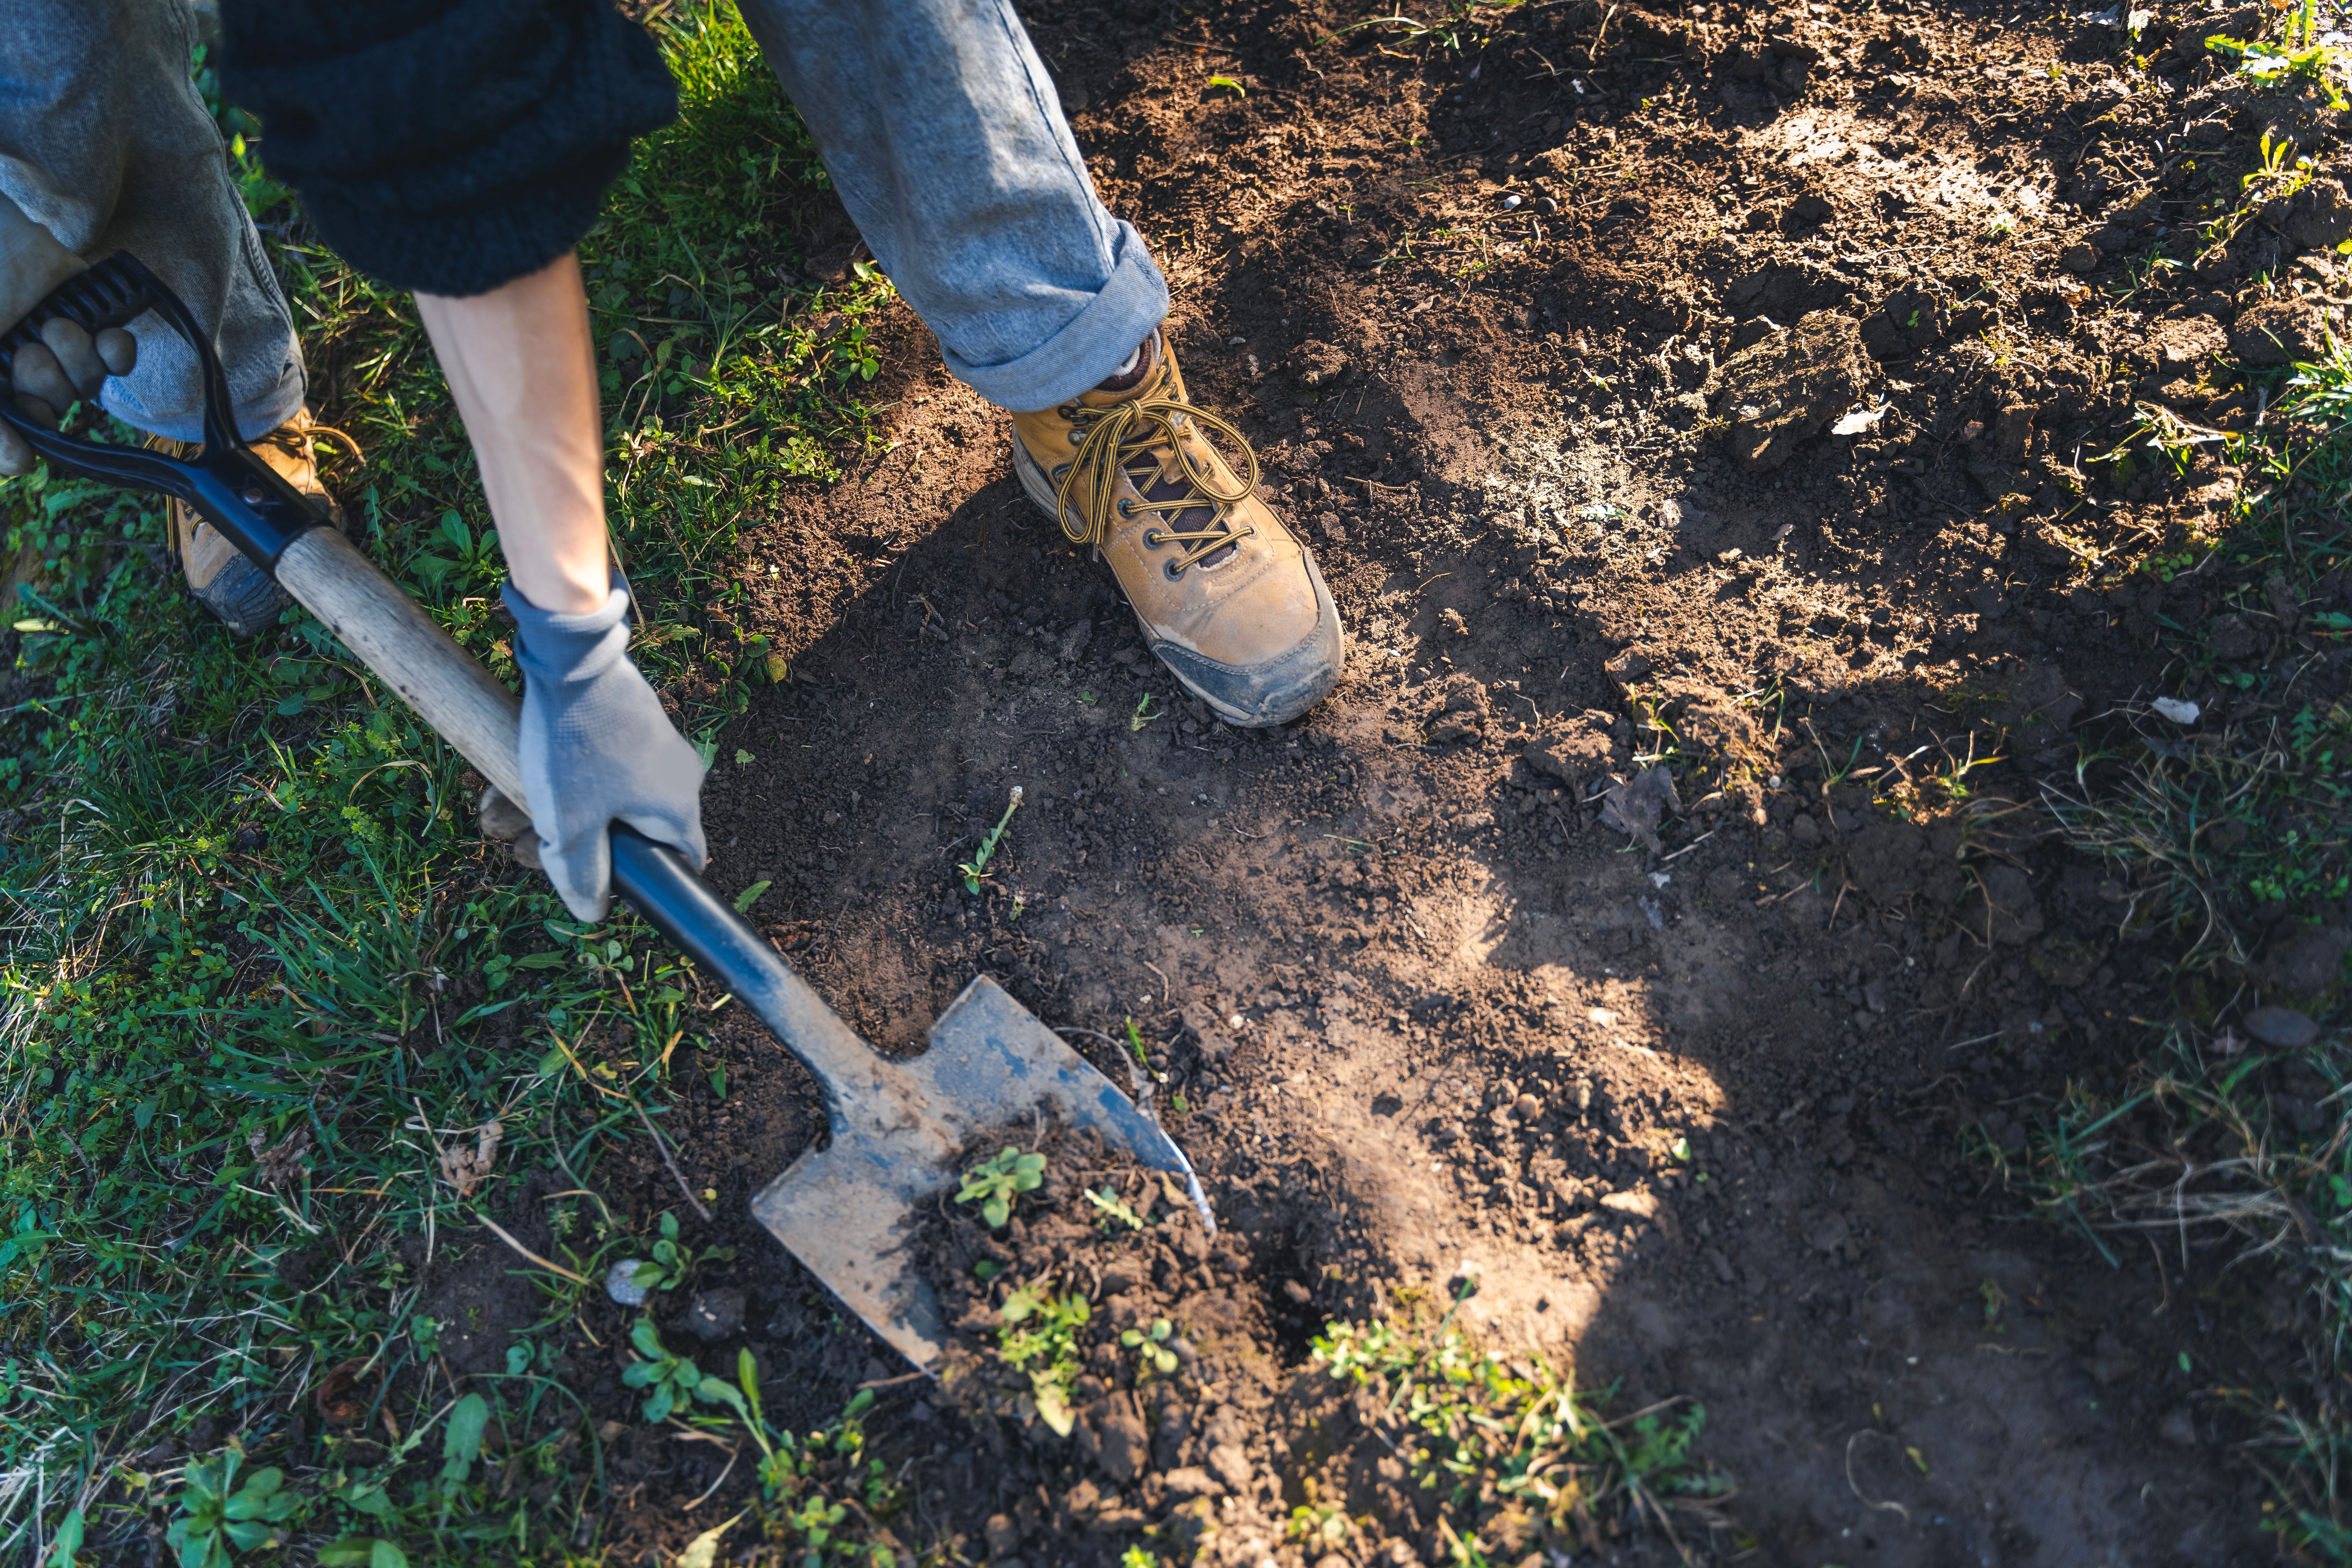
Preparing the Site
Begin by marking the outline of your bio-swale with spray paint or stakes. Excavate the area to the desired depth, ensuring that the bottom slopes gently from one end to the other to facilitate water flow. Line the bottom with gravel and cover it with landscape fabric to prevent soil erosion.
Planting Your Bio-Swale
Select a variety of native plants that thrive in wet conditions. Native species are ideal because they require less maintenance and provide habitat for local wildlife. Arrange them in clusters along the bio-swale, placing taller plants towards the center and shorter ones along the edges.
Adding Finishing Touches
Once planted, cover the area with a layer of mulch to retain moisture and suppress weeds. Ensure that water flows smoothly through the bio-swale by adjusting plants and adjusting the slope if necessary. Regularly inspect your bio-swale for blockages or erosion and make adjustments as needed.
Maintaining Your Bio-Swale
Maintenance is key to ensuring your bio-swale functions effectively. Regularly remove debris that could obstruct water flow, replace any dead plants, and replenish mulch as needed. During dry periods, you may need to water your plants to keep them healthy.

By following this guide, you can successfully install a bio-swale that not only enhances your landscape but also contributes to environmental sustainability. Enjoy the benefits of reduced runoff, improved water quality, and a more beautiful yard!