DIY Bio-Swale Installation: A Step-by-Step Guide for Homeowners


Understanding Bio-Swales
A bio-swale is a sustainable landscape feature designed to manage water runoff, filter pollutants, and enhance the aesthetic appeal of your garden. These natural drainage solutions are particularly effective in urban areas where impervious surfaces like driveways and rooftops prevent water from seeping into the ground. By installing a bio-swale, you not only contribute to environmental conservation but also add a unique element to your property.
Choosing the Right Location
Location is a crucial factor when planning your DIY bio-swale. Ideally, you should place it where water tends to accumulate naturally. This could be near your driveway, along the side of your house, or at the lowest point in your yard. Make sure to assess the slope of your land, as a gentle gradient will help guide water efficiently through the swale.
Consider Local Regulations
Before starting your bio-swale project, check with your local municipality for any regulations or permits required. Some areas may have specific guidelines on drainage systems, so it's essential to comply with local laws. This step ensures that your bio-swale project proceeds without any legal hurdles.

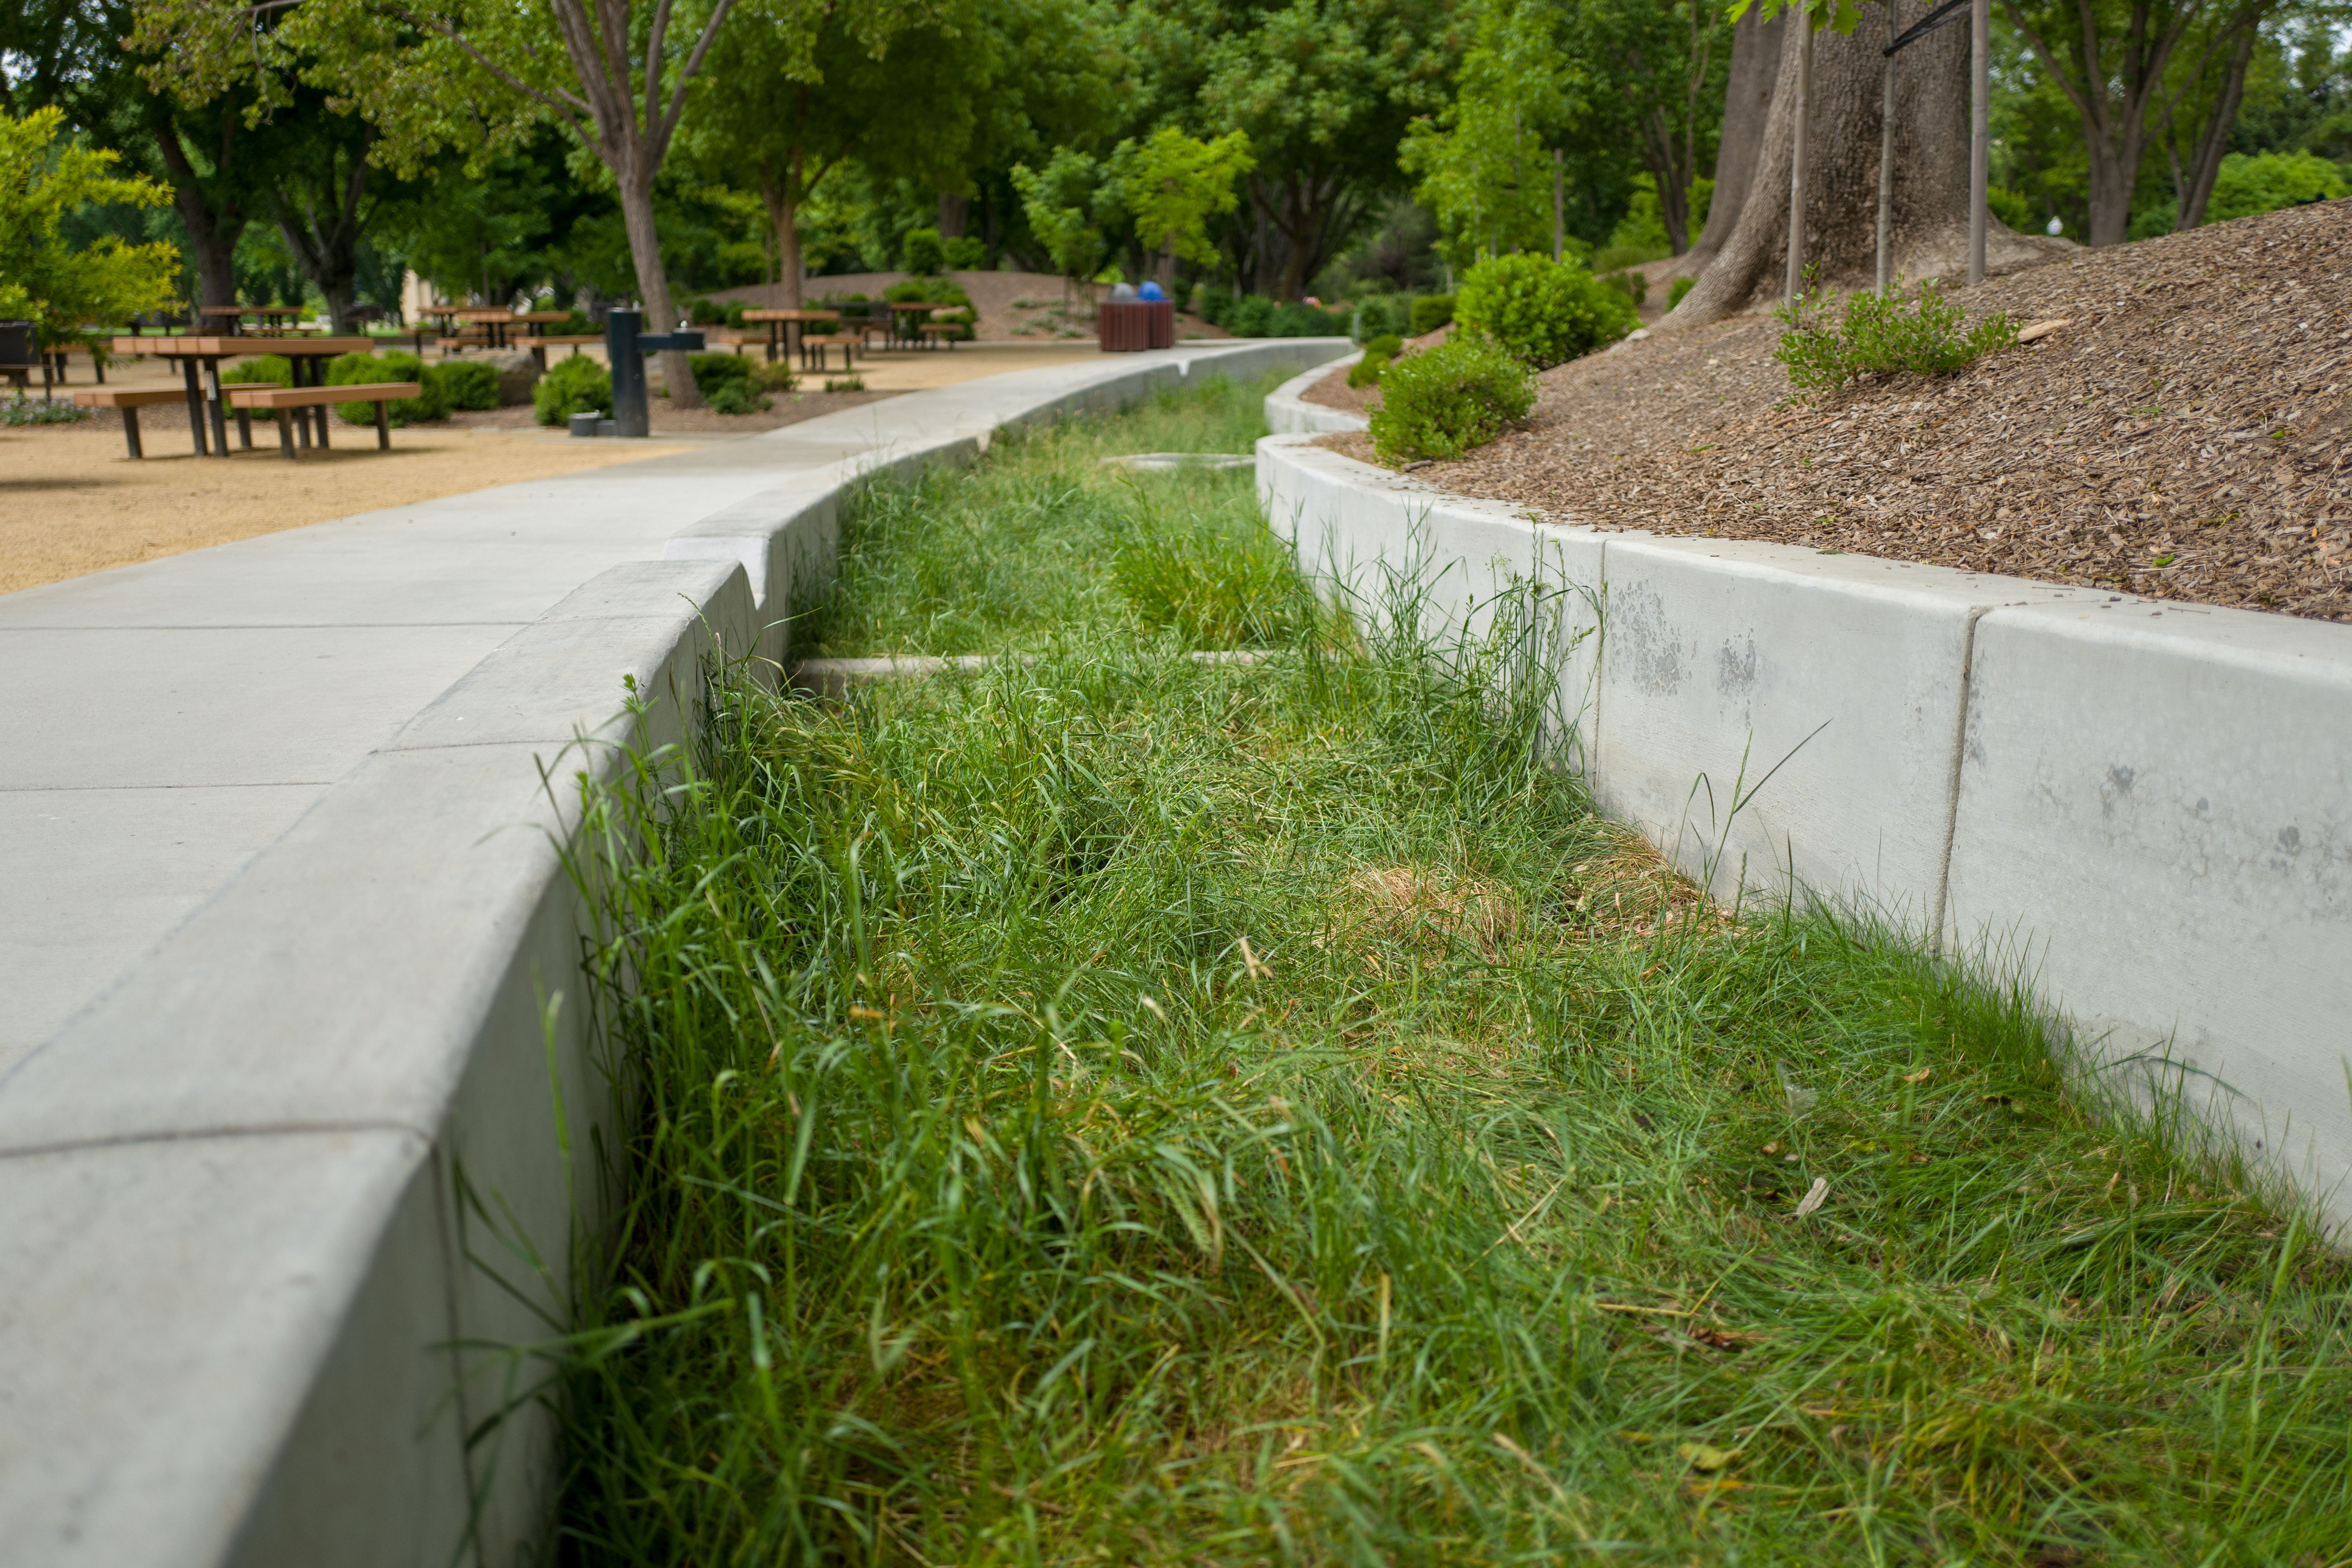
Designing Your Bio-Swale
Designing a bio-swale involves selecting appropriate dimensions and materials. A typical bio-swale is about 6-12 inches deep and 2-4 feet wide. It should be long enough to manage water runoff effectively. Use a combination of gravel, sand, and soil to construct the swale's base, ensuring good drainage and filtration.
Selecting Plants
Choose native plants that thrive in wet conditions for your bio-swale. These plants play a vital role in filtering pollutants and enhancing the swale's appearance. Some excellent options include sedges, rushes, and certain types of grasses. These plants not only tolerate fluctuating water levels but also provide habitat for local wildlife.

Construction Steps
Once you have your design and materials ready, it's time to start constructing your bio-swale. Follow these steps to ensure a successful installation:
- Excavate the area: Use a shovel to dig out the swale, following the planned dimensions.
- Layer the base: Start with a layer of gravel for drainage, followed by sand and then soil.
- Shape the swale: Ensure the bottom is flat and the sides are sloped gently.
- Plant vegetation: Place your chosen plants according to the design plan, ensuring they are spaced for growth.
Final Touches
After planting, cover any exposed soil with mulch to retain moisture and prevent erosion. Water the plants thoroughly to help them establish roots. Over time, as the plants grow and mature, your bio-swale will become more effective at managing stormwater and filtering pollutants.

Maintaining Your Bio-Swale
Regular maintenance ensures that your bio-swale continues to function effectively. Remove any debris or sediment that accumulates over time, and monitor plant health, replacing any that die off. Periodically check for blockages or erosion that might impact water flow.
Benefits of Bio-Swales
A well-maintained bio-swale offers numerous benefits beyond water management. It enhances biodiversity by providing habitat for birds and insects, improves soil health, and can even increase property value by adding an attractive landscape feature. Embrace this eco-friendly solution and enjoy the rewards of a greener yard.